
This page was last updated: September 7, 2023
The goal of this project is show the planets at their scaled size, with and without textures, with and without lighting.
| Planet | Relative Diameter | .bmp File |
|---|---|---|
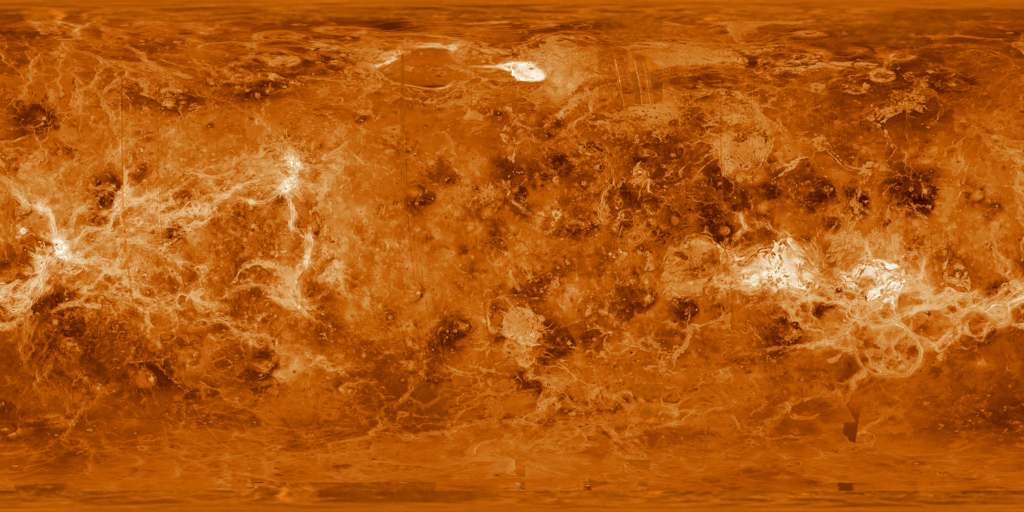
| Venus | 0.95 | venus.bmp |
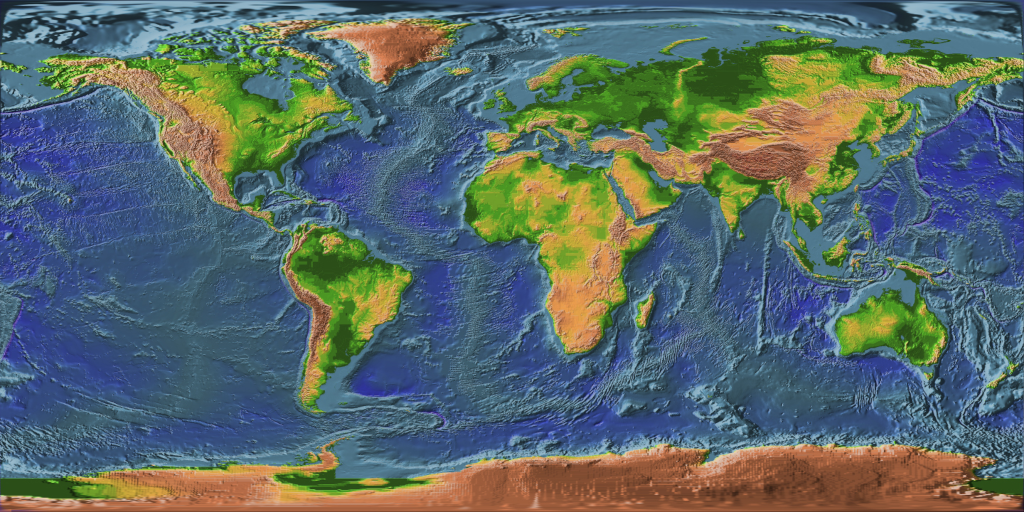
| Earth | 1.00 | earth.bmp |
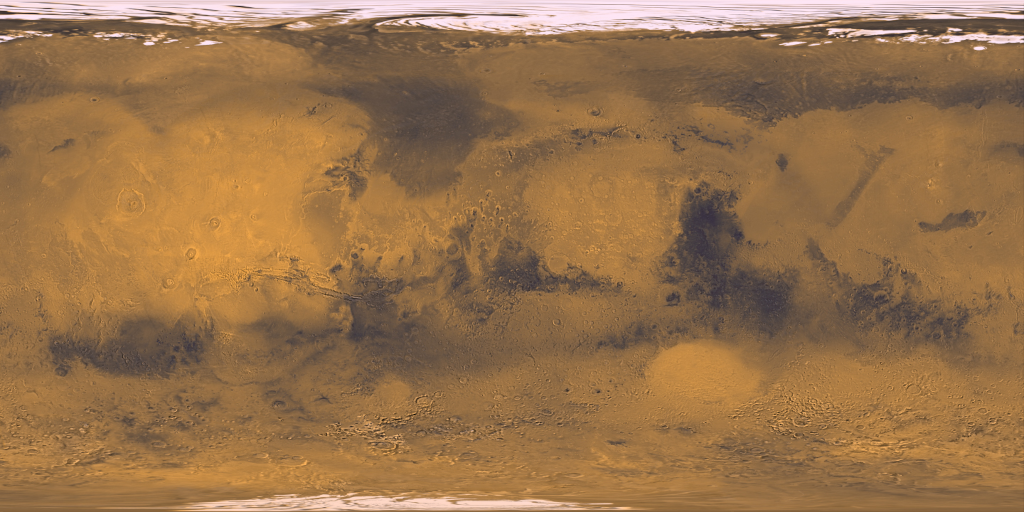
| Mars | 0.53 | mars.bmp |
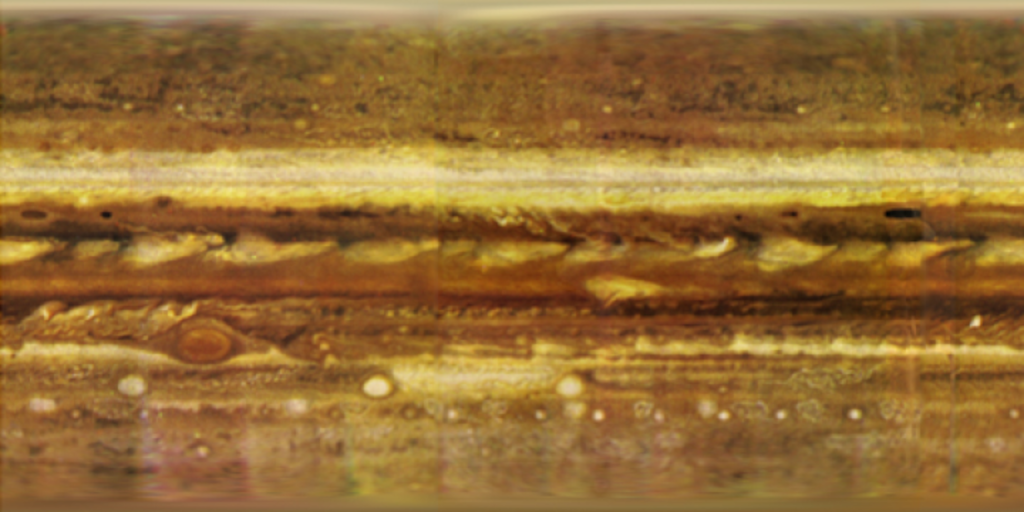
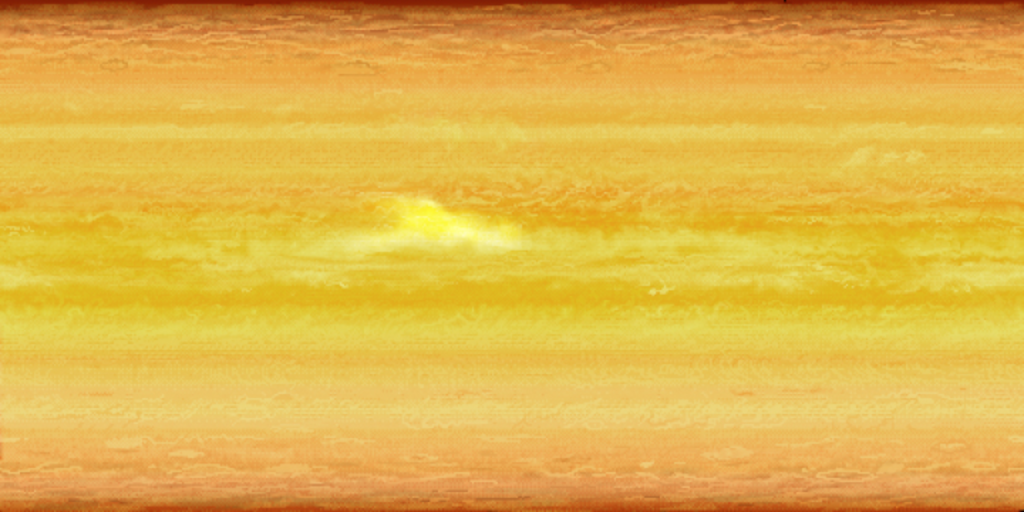
| Jupiter | 11.21 | jupiter.bmp |
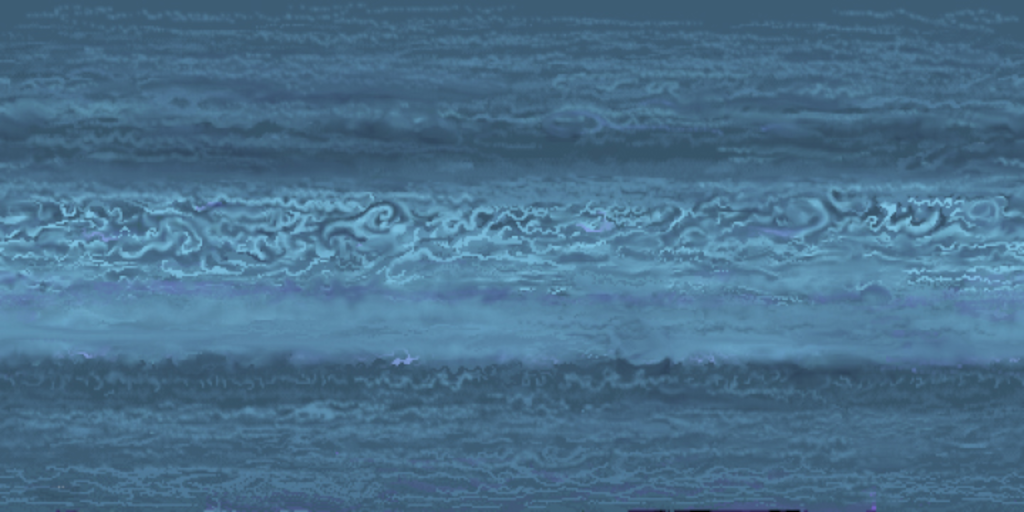
| Saturn | 9.45 | saturn.bmp |
| Uranus | 4.01 | uranus.bmp |
| Neptune | 3.88 | neptune.bmp |
Left-click on a texture file above to see what it looks like.
Right-click on a texture file above to save it in your own file area.
All of these textures have a resolution of 1024x512.
When you are done with this assignment, you will understand how to read texture images into your program, how to store them in GPU memory, and how to quickly stretch them onto various objects in your scene. Really, it was only when texture-mapping hardware appeared in consumer-level graphics hardware that the gaming world took off. Your graphics programs will forever be better because you learned this!
For example:
// globals:
int	SphereDL, MarsDL;	// display lists
int	MarsTex;		// texture object

. . .

// at the end of InitGraphics( ):
	int width, height;
	char *file = (char *)"mars.bmp";
	unsigned char *texture = BmpToTexture( file, &width, &height );
	if( texture == NULL )
        	fprintf( stderr, "Cannot open texture '%s'\n", file );
	else
        	fprintf( stderr, "Opened '%s': width = %d ; height = %d\n", file, width, height );

	glGenTextures( 1, &MarsTex );
	glBindTexture( GL_TEXTURE_2D, MarsTex );
	glPixelStorei( GL_UNPACK_ALIGNMENT, 1 );
	glTexParameteri( GL_TEXTURE_2D, GL_TEXTURE_WRAP_S, GL_REPEAT );
	glTexParameteri( GL_TEXTURE_2D, GL_TEXTURE_WRAP_T, GL_REPEAT );
	glTexParameteri( GL_TEXTURE_2D, GL_TEXTURE_MAG_FILTER, GL_LINEAR );
	glTexParameteri( GL_TEXTURE_2D, GL_TEXTURE_MIN_FILTER, GL_LINEAR);
	glTexImage2D( GL_TEXTURE_2D, 0, 3, width, height, 0, GL_RGB, GL_UNSIGNED_BYTE, texture );

. . .

// in InitLists( ):
	SphereDL = glGenLists( 1 );
	glNewList( SphereDL, GL_COMPILE );
		OsuSphere( 1., ??, ?? );
	glEndList( );

	MarsDL = glGenLists( 1 );
	glNewList( MarsDL, GL_COMPILE );
		glBindTexture( GL_TEXTURE_2D, MarsTex );	// MarsTex must have already been created when this is called
		glPushMatrix( );
			glScalef( 0.53f, 0.53f, 0.53f );	// scale of mars sphere, from the table
			glCallList( SphereDL );		// a dl can call another dl that has been previously created
		glPopMatrix( );
	glEndList( );

. . .

// in Display( ):
	if( << we-are-in-a-texture-mode >> )
		glEnable( GL_TEXTURE_2D );
	else
		glDisable( GL_TEXTURE_2D );

	gleable( GL_LIGHT0 );
	if( << we-are-in-a-lighting-mode >> )
	{
		glEnable( GL_LIGHTING );
		glTexEnvf(GL_TEXTURE_ENV, GL_TEXTURE_ENV_MODE, GL_MODULATE);
	}
	else
	{
		glDisable( GL_LIGHTING );
		glTexEnvf(GL_TEXTURE_ENV, GL_TEXTURE_ENV_MODE, GL_REPLACE);
	}

	if( << we-want-to-display-mars >> )
		glCallList( MarsDL );


	glDisable( GL_TEXTURE_2D );
	glDisable( GL_LIGHTING );
Use the Teach system to turn in:
#include "bmptotexture.cpp"
#include "osusphere.cpp"
Set a constant called something like MS_PER_CYCLE that specifies the number of milliseconds per animation cycle. Then, in your Idle Function, query the number of milliseconds since your program started and turn that into a floating point number between 0. and 1. that indicates how far through the animation cycle you are.
// in the globals:
float Time;


// in Animate( ):
	int ms = glutGet( GLUT_ELAPSED_TIME );
	ms %= MS_PER_CYCLE;
	Time = (float)ms / (float)MS_PER_CYCLE;		// [0.,1.)
Then use Time to change the light position.
Anytime you draw a globe, you will find that orthographic view looks nicer than perspective. This is because you can see more of the sphere that way. Try it.
| Item | Points |
| Draw the spheres with the correct scaling | 20 |
| Draw the spheres with the correct GL_REPLACE textures | 30 |
| Draw the spheres with the correct GL_MODULATE textures | 30 |
| The light source moves | 20 |
| Potential Total | 100 |
Joe Graphics, being somewhat lazy and a lousy typist, always looks for ways to automate repetitive operations into a for-loop. Here is what he did for this project. He first created a struct with all the planet information listed:
struct planet
{
        char*                   name;
        char*                   file;
        float                   scale;
        int                     displayList;
        char                    key;
        unsigned int            texObject;
};
He then populated an array of that struct like this:
struct planet Planets[] =
{
        { "Venus",      "venus.bmp",     0.95f, 0, 'v', 0 },
        { "Earth",      "earth.bmp",     1.00f, 0, 'e', 0 },
        { "Mars",       "mars.bmp",      0.53f, 0, 'm', 0 },
        { "Jupiter",    "jupiter.bmp",  11.21f, 0, 'j', 0 },
        { "Saturn",     "saturn.bmp",    9.45f, 0, 's', 0 },
        { "Uranus",     "uranus.bmp",    4.01f, 0, 'u', 0 },
        { "Neptune",    "neptune.bmp",   3.88f, 0, 'n', 0 },
};

const int NUMPLANETS = sizeof(Planets) / sizeof(struct planet);
This allowed him to put setup operations in a for-loop:
for( int i = 0; i < NUMPLANETS; i++ )
{
	<< do something with Planets[i].file >>
}
He then created a global variable:
intt NowPlanet;
which was initialized to 1 (Earth) in Reset( ) and could be changed from the Keyboard( ) function.
Having that variable allowed him to do things like this:
glCallList( Planets[NowPlanet].displayList );
There is absolutely no requirement that you do it this way! If this makes no sense to you, then just do everything a-planet-at-a-time. It will work fine that way.